BOW TIE Vintage Quilt Top
Beautiful, bow tie, vintage quilt top, 3' x 7'
YES, the back of a hand pieced top can be overwhelming. How would you ever press this? Well, I don't do it from the back, that's for sure. However, this one has been precisely pieced and was done well. Each one of those little pieces is about 1" in size, finished. Honestly, I can't imagine!!
I never press these from the back! I gave this a good press from the top, not concerning myself about the direction of seams because there is no way to properly press those from the backside. I do give it some starch and try to make it as flat as possible.
I 'float' all my tops, which means I don't attach them to the bar that is sitting on the top. Many times, people will pin their tops to that leader and bar, but I like the ability to manipulate my tops, especially the hand-pieced ones. I am constantly tugging gently, spraying some starch, and steaming here and there to shrink the excess fabric. I find I can get the best results by keeping the top free. You can see the starch and steam trick on my YouTube Channel.
Fabrics are mostly 1930's and 1940's
I've chosen to put a swirl in the white spaces and simply ditch stitch around the bow ties, hoping to pop those shapes and fabrics without interruption. Small stitching will create the best curves, so I am stitching at 14 stitches per inch. This is also a continuous line of stitching. No need to break the thread if you don't need to. I try to get through most quilts without cutting threads unless, of course, there is a color change. It saves LOTS of time and thread burying, which I do with all thread tails.
I did a quick video on how I travel through these pieces. It's all about looking ahead, and getting a quilt path figured out. This always reminds me of the puzzle mazes on paper that I loved as a kid!
ONE finished block!!
The rulers (for domestic OR longarm quilting) can be found in my online shop. I use different lengths and shapes, depending on the work I'm doing.
Click here for more information on rulers
I decided to only ditch stitch the blue and white squares, hoping they would create a frame around the bow tie blocks. I want those bow ties to pop out and be the stars. I think they are!
You may ask what those red things are at the top of the photo. I use RED SNAPPERS (aff link) from Renae Haddidin. I ordered them way before I even had my long arm set up, 8 years ago. I knew I would never be a pin girl, so snappers are a clamp-type set up. I can pull a quilt off and put it back on in a matter of minutes.
This is the look of a finished row. Walking away from the quilt at night really has a great look. I only have a few squares left to finish and then I can do the big TA DA!!! I always look forward to that!
Feel free to ask questions. I post daily on my Facebook page, so follow me there for progress. Have a wonderful day everyone!
QUILT UPDATE!!!
Spectacular finish with fabulous texture!
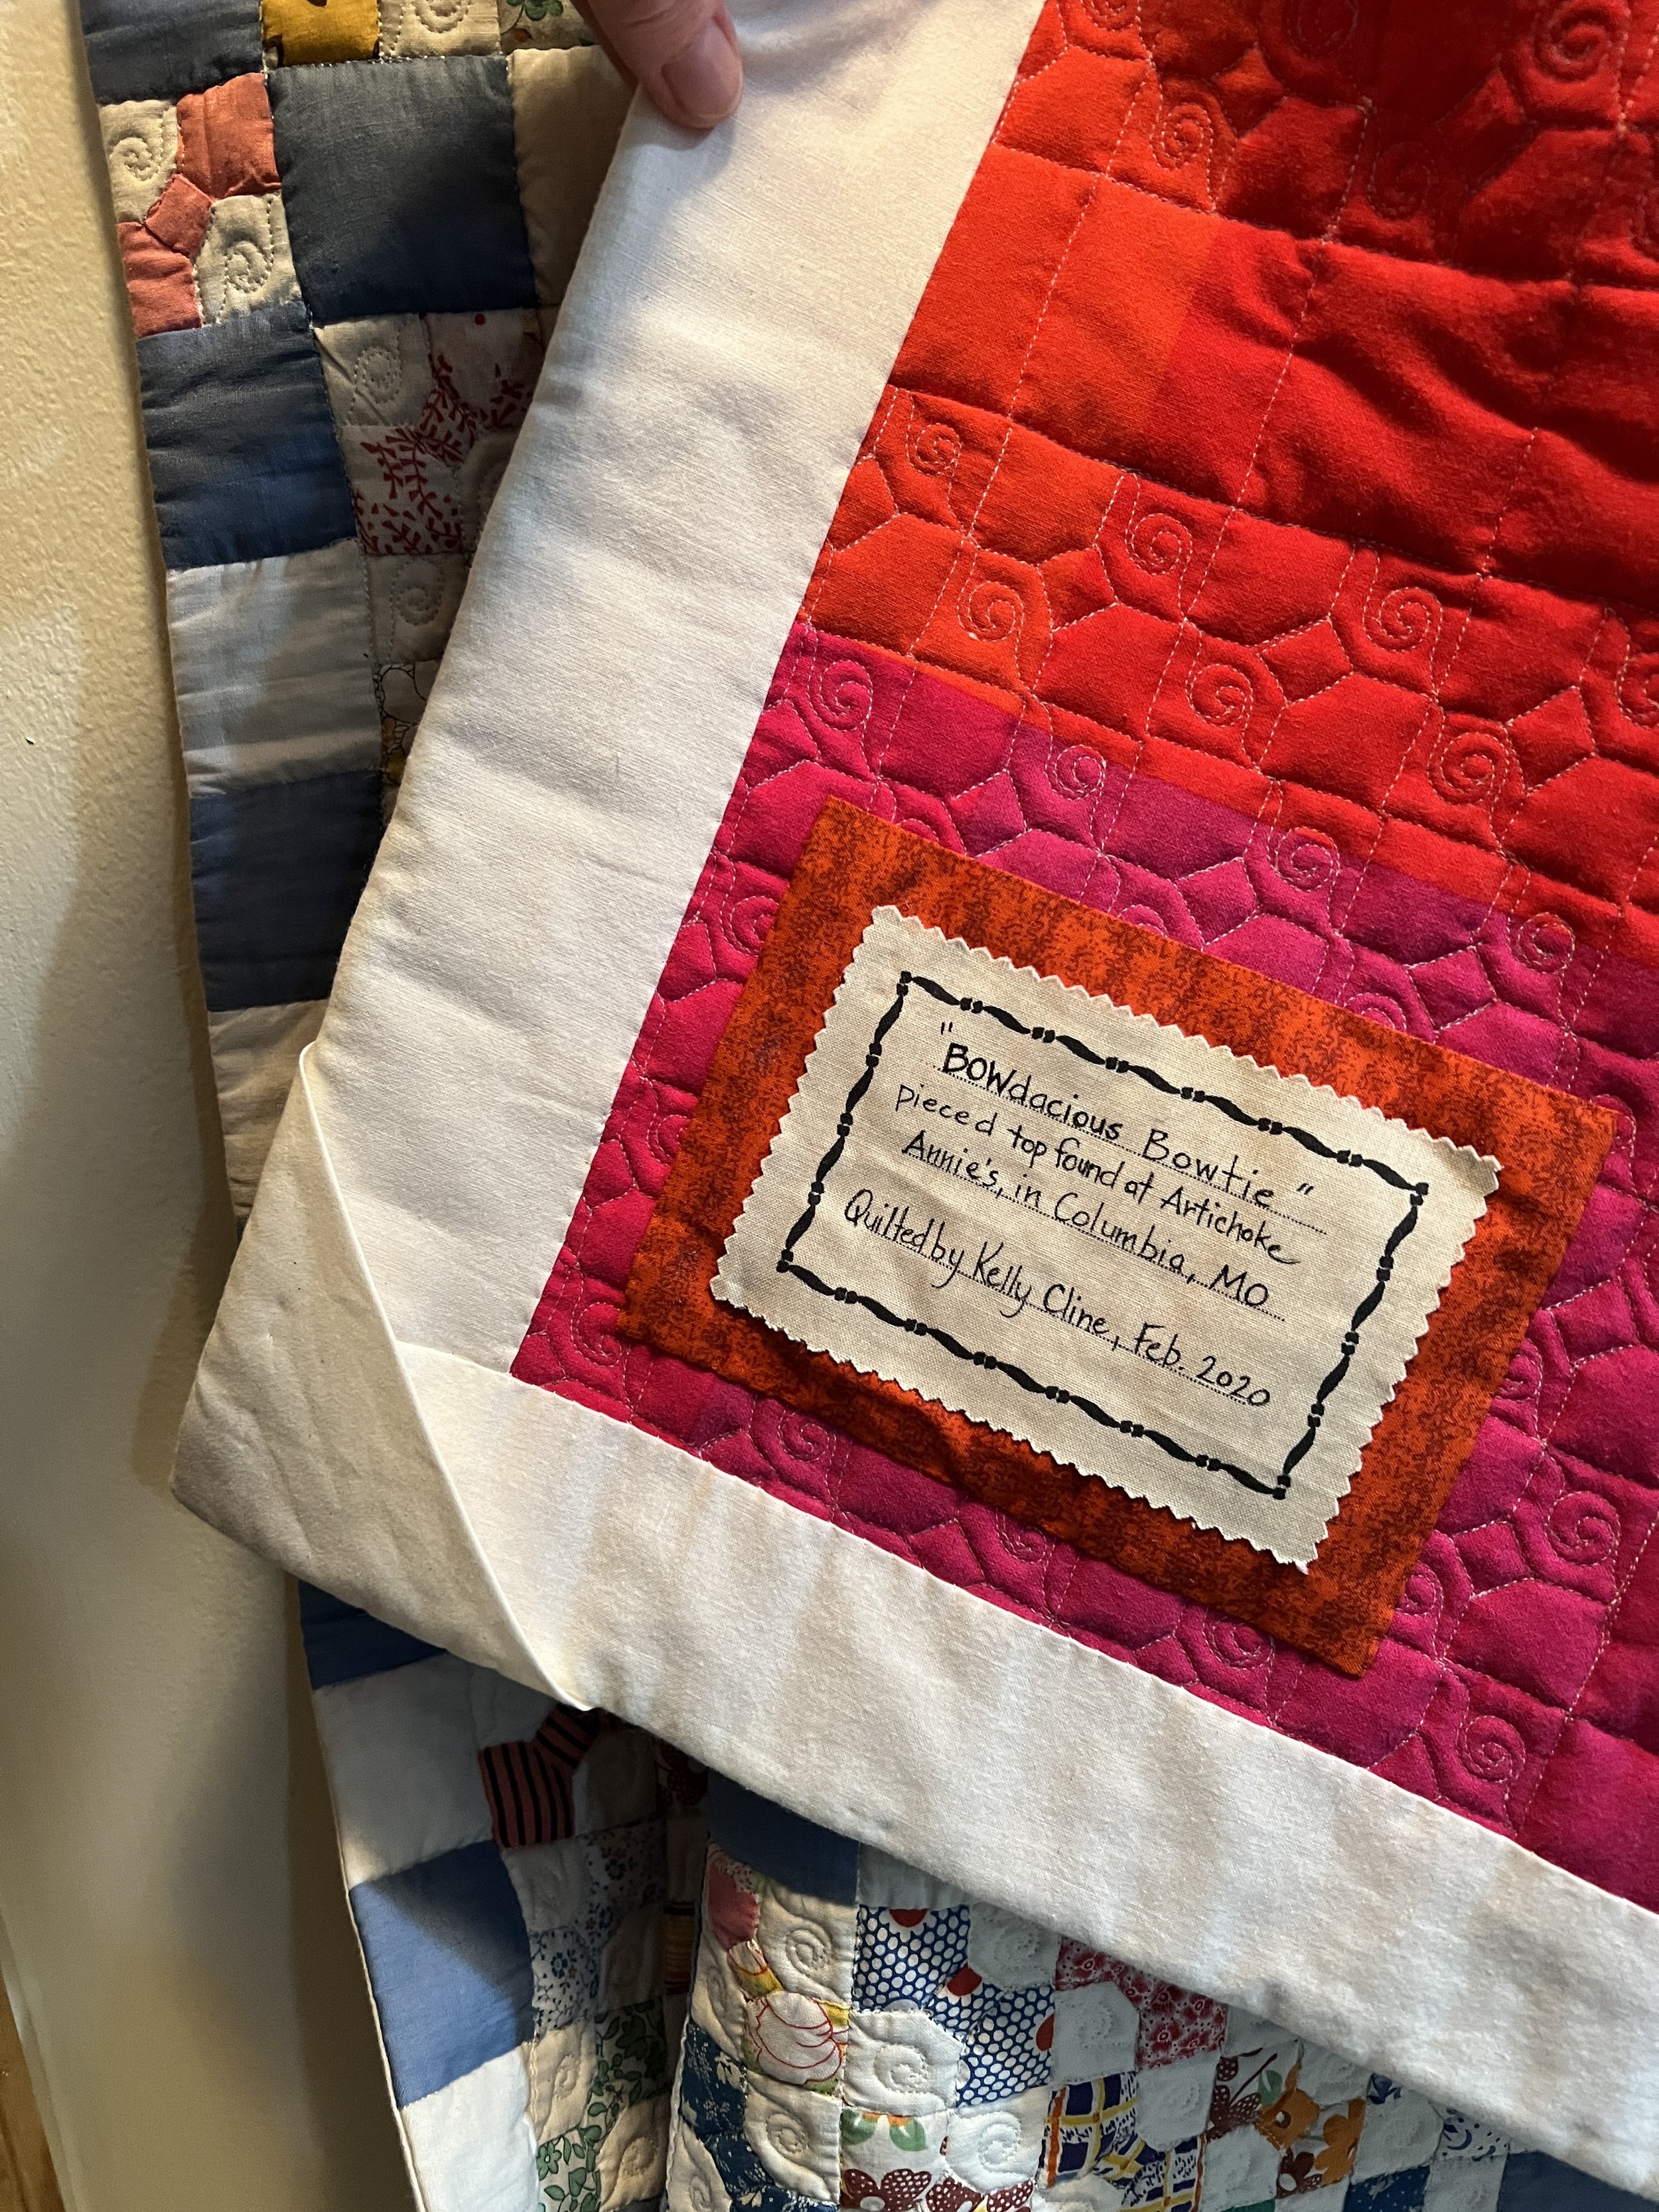
The back was from a used duvet cover, amazing colors!
This quilt lives at the bottom of my staircase
I created a FACED or KNIFE EDGE trim (find videos on YouTube)
BOWdacious Bowtie! Perfect name for this quilt!


